How Does Asphalt Sealcoating Work?
Asphalt driveways can take a serious beating, when you consider all the heavy rains, snowstorms, and daily wear and tear they are subjected to. Adding a sealcoat can do a world of good in the way of protecting your driveway and your investment in it. Asphalt is a very popular choice for paving and road construction because it’s waterproof and it’s actually quite flexible. It also has adhesive properties which are very good at binding the aggregates used in paving. Asphalt has the capability of expanding and contracting with weather conditions, but remaining essentially intact, and that’s why it’s such a good paving material.
Why asphalt needs to be sealed
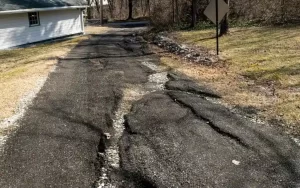
Even though it has the superior waterproofing and adhesive characteristics, it’s still possible for salt, water, and other materials to gradually degrade the structure of asphalt. When asphalt molecules break down, the waterproofing and binding properties lose their effectiveness, and the asphalt will begin to turn color from black to gray.
Asphalt can also be slowly dissolved by grease, oil, and other fats which might accumulate on the surface. When gas or oil leaks into asphalt, they can dissolve some of the chemicals used in the paving material, and this kind of problem can be especially prominent on driveways, where traffic volume is considerably lower.
How sealcoating works
The sealcoating process helps to stave off all those effects mentioned above, and to at least defer or delay the breakdown which occurs when asphalt is subjected to degrading materials. A normal sealcoating process begins with workers trimming away any grass or other material which is hanging over or into your driveway. Then the entire driveway will be cleaned off, so that any dust, debris, dirt, or stone is removed completely.
This is necessary because any good sealcoating job requires that the surface of your driveway be 100% clean. Then a heat flashing process will be used to remove oil and any other petroleum products from the asphalt, so that an initial coat of oil spot primer can be applied. This will ensure good cohesion with the newly applied sealant. Next, workers will handle any cracks which are 3/8 of an inch or larger, removing all dirt and debris, and filling them up with a rubberized crack sealant or hot tar.
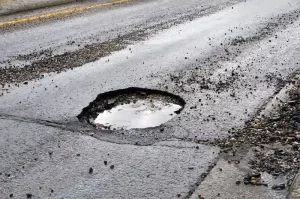
If necessary, a coating of sand will be applied to promote adhesion to the ceiling material. Then sealcoating workers will clean and cover all areas which show chicken wire cracks, using a hot rubberized crack sealant. At this time, any potholes which are evident in the driveway will also be repaired. The sealcoating itself is actually applied by a brush, and the sealcoating is a material which consists of a blended polymer sealer mixed with a rubberized polymer epoxy latex.
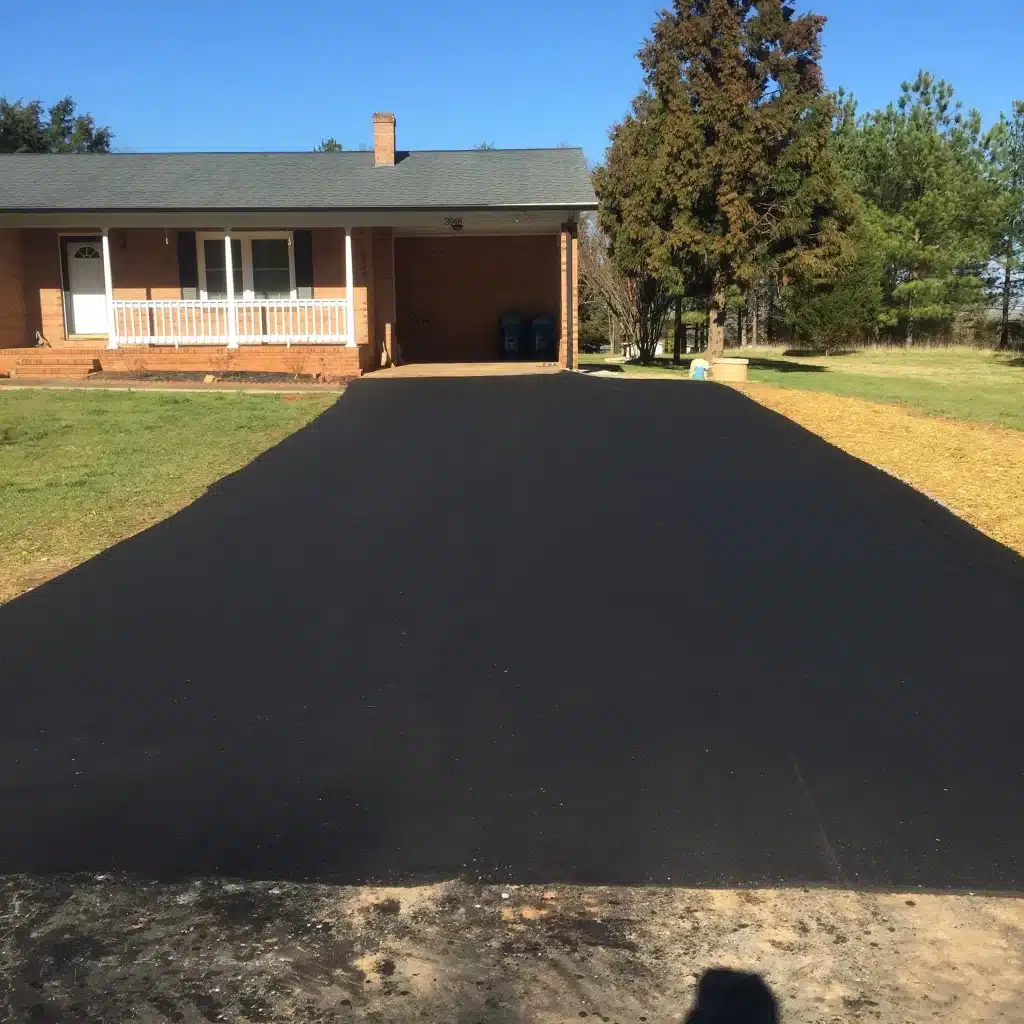
This combination provides a good deal more flexibility, as well as a deep black color when the material dries off. Most sealants will also contain silica and sand to provide greater traction and long-term durability. Once a sealcoating has been applied, it must be allowed to set for at least 48 hours, and it should be treated gently for the next several days. This means for instance, that you shouldn’t turn the wheels of your car while stationary, and that no heavy weights should be applied to your driveway surface.
Sealcoating can extend the life of your driveway by a number of years, if it is addressed every two or three years, so that the normal degradation is prevented or delayed. It’s a very inexpensive process to have done for you, and it’s well worth the investment so that you can get longer life from your driveway, and so that it can remain looking attractive.
